The camera dump has 200 large files, and the editor still wants you to click export one by one. That’s 200 separate dialog boxes to set export dimensions, quality, and file location, and even 10 seconds per export adds up to more than 30 minutes of repetitive work you could spend editing actual content. Building a simple scripted batch resize tool cuts that work to 20 seconds of setup and 2 minutes of unattended processing, and you’ll walk away with a reusable tool you can tweak for every future image workflow.
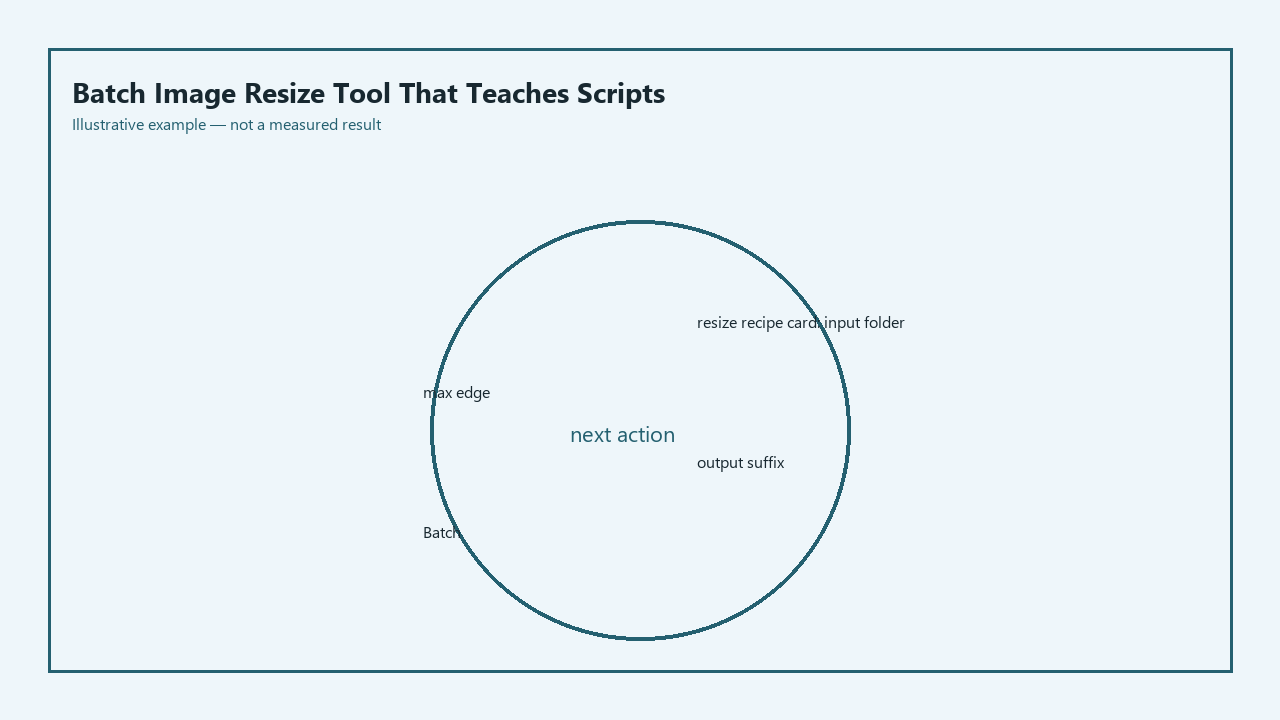
Resize Recipe Card (Save to your project notes)
| Recipe Field | Required Input | Notes | Example Value |
|---|---|---|---|
| Input Folder Path | Full system path to your unmodified original image folder | Never set this to the same path as your output folder | `/home/yourname/Photos/2024_product_shoot_raw` |
| Max Edge Pixel Value | Positive integer for the longest allowed side of resized images | Use 1920 for web, 1080 for Instagram feed, 2560 for client previews | `1920` |
| Output File Suffix | Short string added to the end of resized filenames (optional) | Prevents accidental overwrites even if you mix up folders, lets you identify resized files at a glance | `_web` |
Folder in and folder out with no overwrite
The first non-negotiable rule you build into your script is strict separation of input and output directories, so you never risk modifying or deleting your original raw image files. The script will only read data from the input folder you define in the recipe card, and will never write, edit, or delete any content in that directory. You can add a hardcoded check that throws an immediate error if the input and output paths are identical, eliminating the risk of human error wiping your entire camera dump. The script also checks for existing files in the output folder before processing each image, so if you run the script multiple times, it skips files that have already been resized instead of overwriting them. Illustrative example: If you run the script once, then add 10 new photos to the input folder and run it again, it only processes the 10 new files, leaving the 190 already resized files untouched.
Max-edge rule that keeps aspect ratio
The core logic of the resize tool avoids the common pain point of stretched or distorted images by only targeting the longest edge of each file, rather than requiring separate width and height constraints. You don’t have to manually sort portrait and landscape photos before running the script, or adjust settings for different use cases. The script pulls the existing width and height of each image, compares the two values to find the longer edge, calculates the scaling factor needed to bring that edge down to the max value you set in the recipe card, then applies the same scaling factor to the shorter edge to keep proportions identical. This works for every common image format, including JPG, PNG, and WEBP, with no extra configuration needed. Illustrative example: If you set a max edge of 1080 for Instagram posts, a 5472×3648 landscape photo resizes to 1080×720, and a 3648×5472 portrait photo resizes to 720×1080, both perfectly proportioned for the feed.
Already-small files you leave untouched
Not every photo in your camera dump will need resizing, and resizing already small files degrades their quality unnecessarily. You might have exported a handful of pre-edited thumbnails, logo files, or reference images that are already under your max edge requirement, so the script adds a pre-processing check that compares the longest edge of the current file to your set max value. If the existing edge is equal to or smaller than the max, the script copies the original file directly to the output folder without running any resizing logic. This preserves the original quality of small files, avoids unnecessary processing time, and ensures all files from your input folder are present in the output folder when the script finishes, so you don’t have to manually move skipped files later. Example measurement: A 1200×800 product mockup in a folder of 6000×4000 raw exports will be copied to the output folder in less than 0.1 seconds, vs 2-3 seconds of resizing time for the larger raw files.
Progress line you can read in a terminal
No one wants to stare at a blank terminal window wondering if their script is frozen or still processing hundreds of large files, so you build a simple progress update system that prints a single line to the terminal for every file the script processes. Each line includes the total number of files in the input folder, the current file number, the filename, whether the file was resized or copied as-is, and the original and final dimensions for resized files. You don’t need fancy animated progress bars that break across different operating systems or terminal emulators; plain, scrollable text lets you review exactly what the script did after it finishes, and spot any errors with specific files quickly. Illustrative example: If a corrupted image file breaks the resizing process, the last printed progress line will show you exactly which file caused the error, so you can remove it and re-run the script without starting over from scratch.
Sample export folder you run before real photos
The fastest way to avoid costly mistakes is to test your script on a small sample folder before running it on your full set of original photos. Create a test input folder with 3-5 files that cover every use case you expect: one landscape photo, one portrait photo, one file smaller than your max edge, one PNG with transparency, and one high-quality JPG. Run the script on this test folder first, then check the output files to confirm that aspect ratios are preserved, small files are untouched, no overwrites happened, and file quality meets your expectations. Once you confirm the test run works perfectly, you can run the script on your full camera dump with no risk of ruining original files or wasting time on incorrect settings. Illustrative example: A test run on 5 files takes less than 10 seconds, and can catch a typo where you set the max edge to 192 instead of 1920 before you process 200 photos to unusably small sizes.
Open your code editor right now, fill out the resize recipe card for your next image project, and build the input/output folder separation rule for your batch resize script before moving on to the max edge logic.