
The schema change is one command, and the only copy of the data is that same file. Run a bad ALTER TABLE statement that drops a column or munges date formats, and you can roll back only if you have a valid, uncorrupted copy of the file taken right before you ran the migration. For small solo projects, SQLite’s single-file structure is its biggest convenience and its biggest risk, because there’s no separate server with built-in snapshotting to fall back on.
Copy with a timestamp before any ALTER
Never copy an active SQLite file with generic file system commands like `cp` or drag-and-drop in a file explorer, as these can create partial, corrupted copies if the database is receiving writes while the copy runs. The safest method to create a consistent snapshot is to use the official SQLite CLI’s `.backup` command, which handles active connections automatically to ensure no data is lost mid-copy. Always name your backup file with a full ISO 8601 timestamp and environment label to avoid accidental overwrites and make it easy to trace which backup corresponds to which migration attempt. For example, a valid backup filename for a production app would be `taskapp_20240512T143200_prod_backup.sqlite`. If you use an ORM like Prisma or Django to run migrations, you can add a pre-migration hook that automatically runs the `.backup` command and generates the timestamped filename, so you don’t have to remember to complete this step manually.
Size and row-count check after the copy
A backup file that exists in your directory is not automatically valid, so you need to run two quick verification steps before you proceed. First, compare the file size of the backup to the live database file: a valid backup will be within 5% of the live file’s size, as small variations are normal for unused page space in SQLite files. A 0-byte file or a file that is less than half the size of the live file is a clear sign of a corrupted copy that you should discard immediately. Second, run count queries against 2-3 of your highest-traffic core tables on both the live file and the backup, and confirm the counts match exactly. Illustrative example: Your 12MB live production SQLite file has 1,247 user rows, 4,921 task rows, and 1,832 comment rows. A valid backup will be 11.8-12.2MB and return exactly those three counts when you run the respective `SELECT COUNT(*)` queries. You can save these count queries in a 3-line shell script to run the verification in one command, rather than typing them out manually every time.
Restore drill you run on a throwaway file
A backup you have not tested restoring is effectively useless, as hidden corruption may only appear when you try to access the data. The restore drill is a quick 30-second test you run on a copy of the backup in a temporary, isolated folder, so you never risk modifying your live app directory during testing. The full copy-before-migrate card you use for every migration is laid out in the table below:
| Copy-before-migrate card step | Action to complete | Pass/fail check |
|---|---|---|
| 1. Stamp | Create backup file with full ISO 8601 timestamp in filename, use official SQLite `.backup` command to avoid partial copies | File name follows format `[app_name]_[YYYYMMDDTHHMMSS]_[env]_backup.sqlite`, no write errors during backup |
| 2. Verify size | Compare file size and core table row counts between live file and backup | Backup size is within 5% of live file size, row counts for 3 highest-traffic tables match exactly |
| 3. Restore drill | Load backup to a temporary directory, connect your app to it, test 2 core read operations and 1 core write operation | No connection errors, all test operations return expected results |
You do not need to test every feature of your app during the restore drill. For most small apps, this means connecting to the backup with your database client to pull the most recent record from your core table, then spinning up a local instance of your app pointed at the backup to confirm you can log in with a test account and create a new record without errors. If you receive a “database disk image is malformed” error when connecting to the backup, discard the copy and re-run the backup step from scratch.
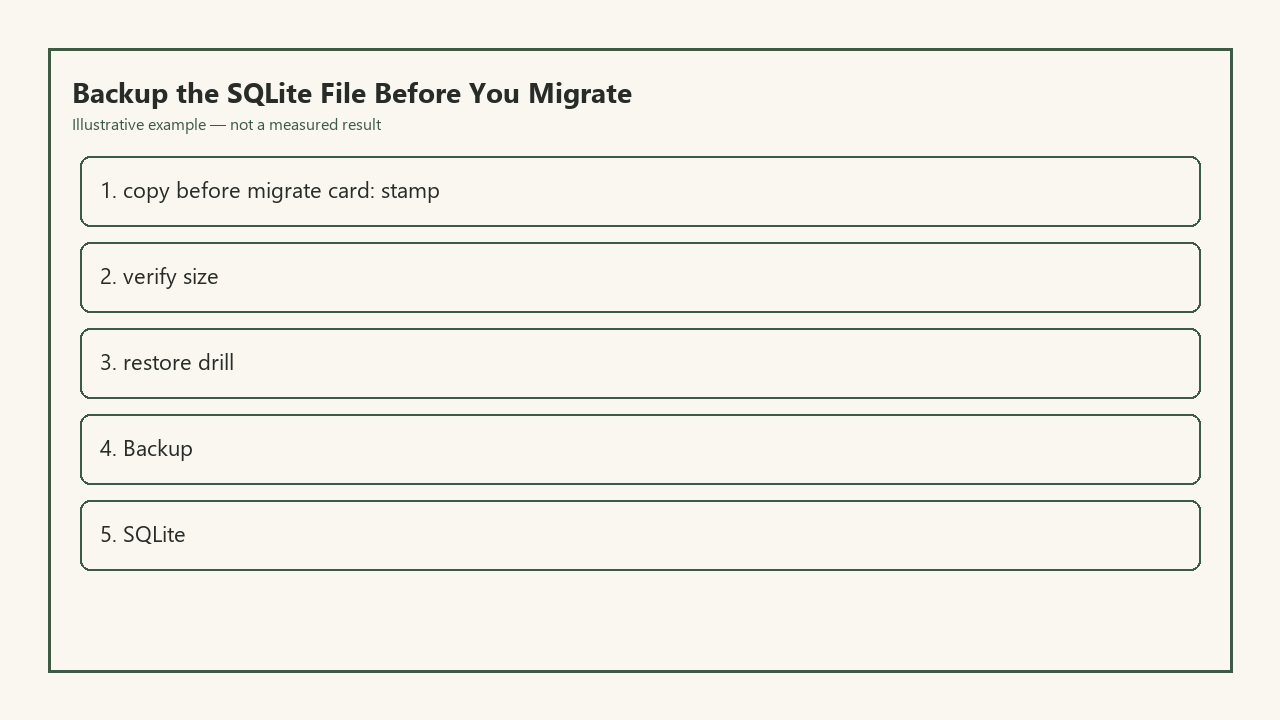
Migration you refuse if the backup is missing
Set a non-negotiable rule for yourself: you will never run a migration, no matter how trivial it seems, if you have not completed all three steps of the copy-before-migrate card and marked them as passed. Even seemingly harmless schema changes can fail in unexpected ways: adding a unique constraint might fail because you have uncaught duplicate rows in your table, adding a default value to a column on a large table might lock the database for minutes and corrupt data if the process is interrupted, or you might accidentally run a development environment migration that drops a table against your production database. It is far better to delay a deployment by 5 minutes to fix a corrupted backup than to spend 10 hours manually reconstructing data from user support tickets and partial server logs. If you are working with a small team, make this rule explicit for all deployments, so no one can push a migration without a valid backup in place.
Folder that is not the same disk as the app
Storing backups on the same disk as your live app protects you from migration errors, but not from hardware failure, accidental server deletion, or ransomware. For solo projects, you do not need a complex multi-region backup setup: any location that is on a separate physical or virtual disk from your app’s working directory is sufficient. This can be a free private cloud storage bucket, a separate attached disk on your VPS, a USB drive for local self-hosted apps, or even your personal laptop’s storage. Illustrative example: Your app runs on a $5 VPS with a 25GB local disk. You configure your pre-migration script to automatically push a copy of every valid pre-migration backup to a private S3 bucket with 99.99% durability, so even if the VPS disk is completely wiped, you can pull the latest backup from S3 in 2 minutes. You can set a simple retention policy to delete backups older than 30 days to avoid wasting storage space, as long as you keep at least the last 3 pre-migration backups at all times.
Before you run your next SQLite migration, pull up the copy-before-migrate card table above, run through all three steps in order, and save a copy of the backup to a location separate from your app’s working disk before you execute any ALTER or UPDATE statements that modify your schema or core data.